
Every now-and-again a build starts off perfectly. The parts are all available, ready-and-eager to be assembled, powered on, and enjoyed by all of the people around.
This is not one of those builds, unfortunately.
This is how everything starts going off the rails, then continues to go off the rails.
The First Step
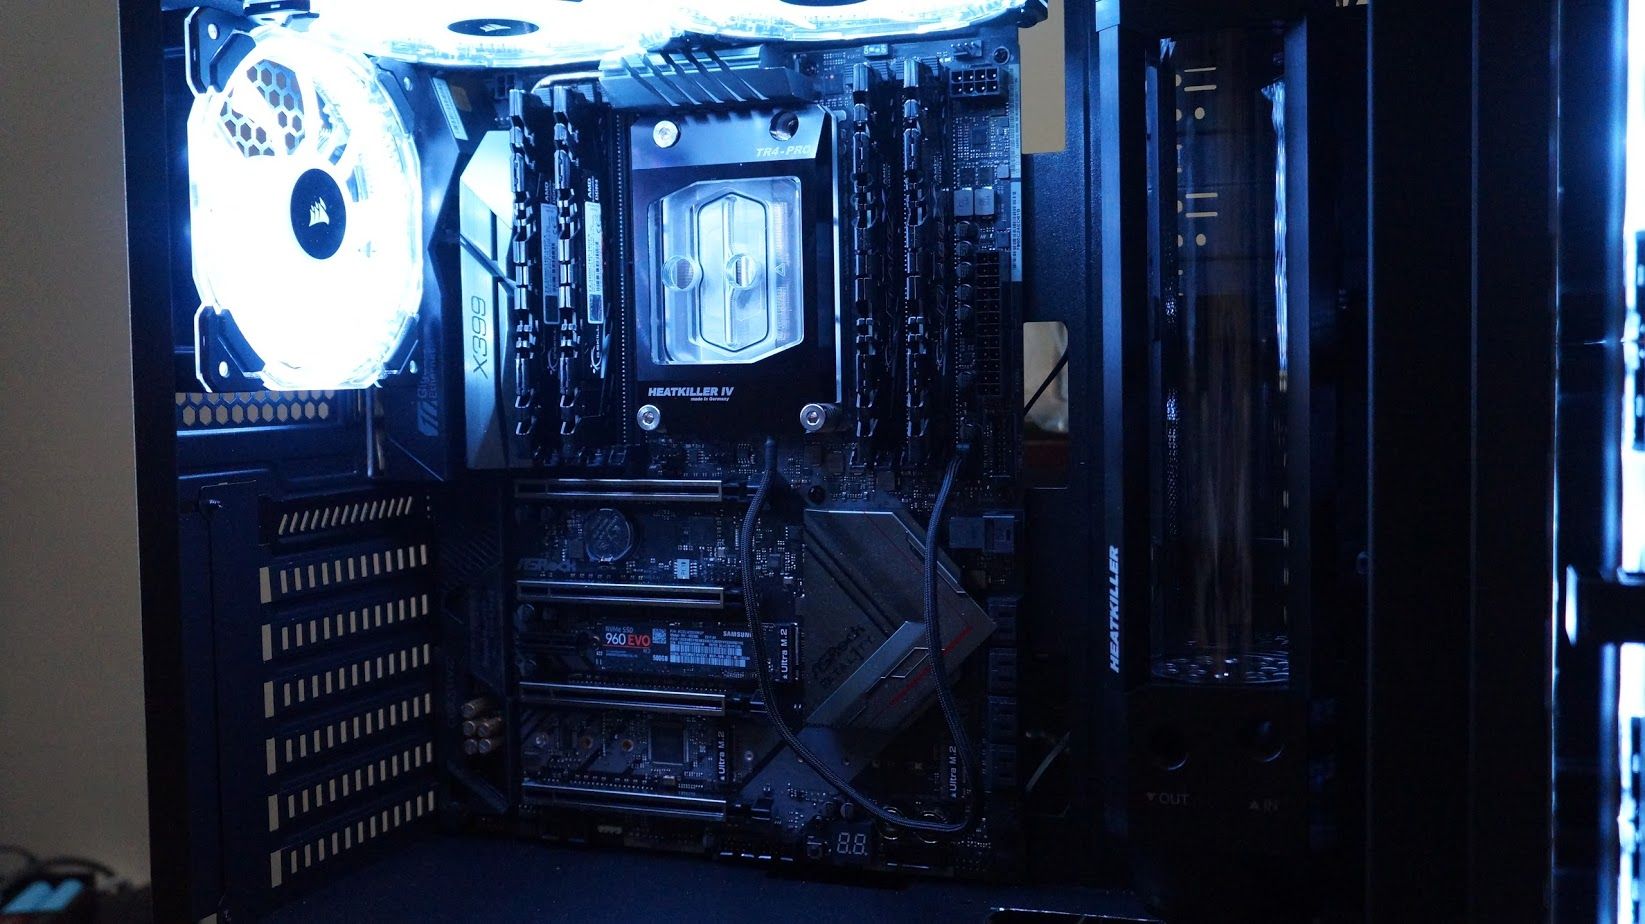
So, my previous build was Winter Descending, basically an ASRock X399 Fatal1ty Gaming Professional, a Threadripper 1950X, some RAM, and a metric ton of PETG and nickle-plated copper connecting everything together inside of a CaseLabs Mercury S8 in gunmetal grey.

It wasn't the most exciting build, but it was sexy.
The issue was that the Primochill True Sky White SX coolant had decided to part ways with the pigment and turn perfectly clear. It's not that the loop didn't look good with the newly clear liquid---it did---it's just that opaque liquids shouldn't just lose all of their pigment.
Basically, something was wrong and I needed to bring the loop down to fix it.
An Opportunity
So, some friends and I were looking at CES 2018 photos and noticed an interesting case in the background of the photo, the kind of case that screams "you really shouldn't build in me" but I decided to indulge my curiosity.
Enter the Computer Upgrade King USA (CUKUSA) Stratos case.

Build Quality
This case looks presentable enough. It has the standard tempered glass on the front to impede airflow (a required feature), tempered glass on the side, a PSU shroud, and the finest thin steel that flexes when you look at it the wrong way.
Airflow
The top of the case can hold three 120 millimeter fans, the front can hold another three, and the exhaust fan is limited to a single 120 millimeter fan. There is a cutout in the front of the case where the PSU shroud is to fit something resembling a radiator as well.
Now, I will admit that the case came with 7 RGB fans and a controller to get them all going. My first step was to remove those very fans because (1) they're a bit loud, and (2) if you're going to do RGB, don't mess around with it. They were quickly replaced with 6 Corsair HD120 RGB fans and a Corsair Lightning Node Pro.
Watercooling

Note: I'm sure this case would be fine for a single GPU/CPU build if you've got your heart set on this case. Unfortunately, I'm in full complaining mode as I'm fitting in a TR 1950X and two GTX 1080s because reasons. Also, I still don't think that using this case for watercooling is a good idea regardless of your intentions.
As far as watercooling support goes: don't.
No, really, this isn't a case where you're going to setup a loop and enjoy the build. No one likes having little-to-no room at the top of the case for a radiator.
Want to go front 360 millimeter and top 360 millimeter? Well, too bad as this case doesn't care about your hopes and dreams. You'll put a 240 in the top and you will like it. The case has the dimensions of a much older and lower-end case, and it shows.
Oh, you're fine with a 240 millimeter radiator? Well, you'd better hope it's EKWB-Coolstream-SE thin or less otherwise you'll be mounting those fans on the outside of the case.
Ah, you're still good with it. Don't worry, those are the only places you'll be able to mount rads to as the exhaust vent on the back isn't big enough to put a 120 millimeter radiator on.
Price and Value
Okay, here's the rub: this case was USD$110. I don't remember if I paid for shipping or not, but it doesn't really matter. The case simply isn't worth $110. The fans are cheap, the case is cheap, and the front assembly looks like they just took a design from 2007 and bolted on the tempered glass.
Any radiator mounted to the front is going to have issues drawing air through, and I'll assume that airflow will be impacted by the design decision.
Now, credit where credit is due: Computer Upgrade King confirmed my online order via a phonecall from a real person, and I got the case in two days. That was amazing and I give them respect for being able to do that.
However, that's about where this one ends. I think you'd be better served spending the money on a different case and get more for it.
What's Next?
So, what's next you ask? Well, despite everything above, I will be building a full custom loop in this case. Most of the parts are in which means I can start getting the measurements for the distro plate that will be going in the bottom of the case.
Updated February 2017: Unfortunately, I cannot count. There were 7 fans pre-installed, I replaced them with 6 fans. Also, the price was closer to $110. Finally, I fixed an issue with "lose/loose".