
Introduction
This is a pretty short guide on how to get U2F thumbdrives configured for Arch Linux logins. Most of it is copied from the source: Yubico on GitHub. I've made a few changes that are specific to Arch Linux, but realize that most of the work here was on Yubico.
Even better, another shoutout goes to maxime1986 for creating the AUR package that makes installing the pam-u2f PAM module that much easier.
Encryption
One more thing: DO NOT PLACE THE MAPPINGS FILE IN AN ENCRYPTED HOME DIRECTORY AS YOU WILL NOT BE ABLE TO LOG IN! The login process will decrypt the home directory, but since the file to authenticate against is encrypted...well, you get the picture.
sudo Configuration
If you're using the Defaults rootpw option in your /etc/sudoers file, this will cause sudo not to work with the pam_u2f module. The Defaults rootpw line forces sudo to authenticate against the root user which screws up how pam_u2f authenticates against the u2f_mappings file.
Also, don't use Defaults rootpw in your sudoers file. It kinda defeats the purpose of sudo.
Things That Work
After some feedback, here are things that will work with the security key:
- Logging in to the computer (console)
- Privilege elevation via
sudo - GDM login screen/lock screen
- i3 login screen/lock screen
- KDE Plasma/
klockscreen
Things that don't (verified):
- SSHing into a server configured via this guide. OpenSSH hasn't yet implemented the required code for this to work.
Things You Need
Here is a long list of things you will need:
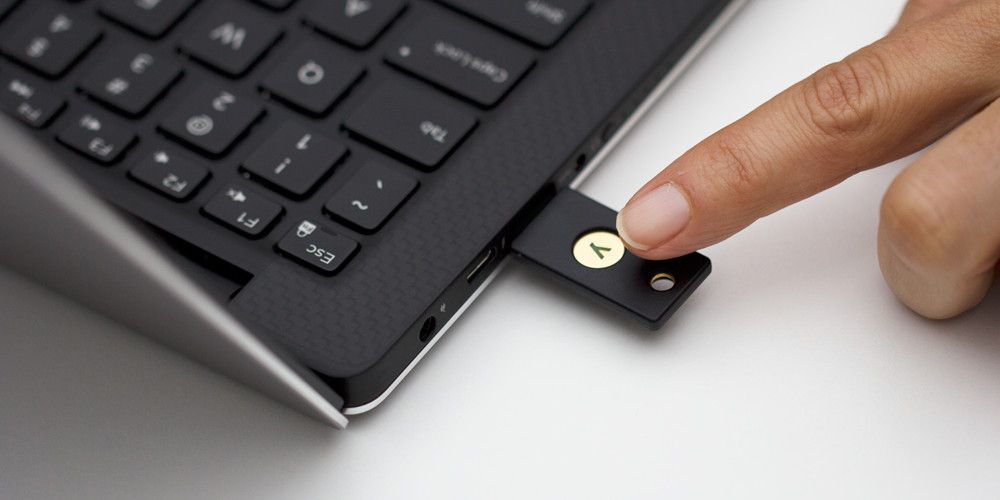
- At least one U2F key. I tested this using a Yubikey 4 and a Yubikey 4 Nano.
- Arch Linux installed.
Procedure
These steps assume that you're using an AUR package manager. This is mostly due to my overall laziness on rewriting to build packages directly. The AUR package manager in use in this guide is pacaur. Also, it assumes that you have the base-devel package installed.
Also, this guide uses the centrally-managed pam_u2f configuration where user-key relations are stored in /etc/u2f_mappings.
Install pam_u2f
- Ensure that all of the U2F keys are removed from the computer.
- Install the
pam_u2fpackage via thepacaurcommand. This should bring in thelibu2f-host,libu2f-server, and theasciidocpackages.
pacaur -S pam_u2fGenerate /etc/u2f_mappings File
- Insert the U2F key into the laptop.
- Using the
pamu2fcfgcommand, grab the U2F key's information so we can add it to theu2f_mappingsfile. After running the command, ensure that you actually touch the U2F key. Also, the command ispamu2fcfg -ujweatherly, simply replacejweatherlywith your login username.pamu2fcfg -ujweatherly jweatherly:lotsofrandomcharacters,evenmorerandomcharacters - Open the
/etc/u2f_mappingsfile and add the line generated in the previous step to this file. If the output from thepamu2fcfgcommand ends in a%sign, ensure that you don't copy the%into the file.If you have more than one key that you'd like to associate with a given user, simply add the information you grabbed via the
pamu2fcfgcommand to the end of the line. Remember that each key is seperated by a:.jweatherly:lotsofrandomcharacterskey1,lotsofrandomcharacterskey1:lotsofrandomcharacterskey2,lotsofrandomcharacterskey2
Configure PAM (Test Run)
- Navigate to the
/etc/pam.ddirectory. Open the
system-authfile and add the following line to the top of theauthsection. The reason that thesufficientline is there is that if theu2f_mappingfile is messed up then you'll be able to log on via password. Also, the line below is all on one single line. Unfortunately, this will look like two lines on some browsers.auth sufficient pam_u2f.so debug authfile=/etc/u2f_mappings cueThis should make the first few lines of the
system-authfile look like so:
Reboot the computer.
- When the login screen is loaded, it should ask you to touch the device. Simply touch the device and you should be able to log in. If this works, proceed to the next section. If not, log in via your regular password and try to
sudo -i. Thepam_u2fmodule is set todebugmode and should give good information on what went wrong.
Finishing Up (Final Run)
- Navigate to the
/etc/pam.ddirectory. Open the
system-authfile again, and change theauthsection to look like the following. We're basically moving thepam_u2fmodule down after the password, and making itrequired. Also, let's remove thedebugportion.
Change the permissions of the
/etc/u2f_mappingsfile to something a bit more secure. If you're running KDE as your desktop, you will have to loosen those permissions up to 444. Failure to do this will make kcheckpass very unhappy.chmod 400 /etc/u2f_mappingReboot and enjoy the two factor goodness of being able to log in via your token.
Changelog
2017/01/04
- Added KDE/kcheckpass information to the guide.
2017/01/01
- Happy New Year!
- Added Things That Work and Things That Don't Work sections to the guide.
- Added warning for
/etc/sudoersconfiguration settings involvingDefaults rootpw. - Fixed stubborn language highlighting and fenced code block issue by hand-jamming HTML instead of Markdown for this guide.
- Fixed theme issues relating to the new language highlighting stuff.
- Fixed theme CSS issues.
2016/12/31
- Cleared up phrasing on the
pamu2fcfgcommand.
2016/12/30
- Updated encryption information.
- Added
chmodcommand to the/etc/u2f_mappingsfile. - Minor grammatical changes.
- Replaced
system-authwith images (better layout) - Changed header image